A few people have expressed interest in learning how I set up this website. In this post, I will show you how I set up and manage this site, which is powered by Jekyll.
I built this website because I wanted my own platform to learn web development. First, I built a custom Ubuntu server — a project in itself. I can write about that in a future post if there's interest.
Install Apache
First, install the Apache web server, which manages sending your website's files to the internet.
$ sudo apt-get install apache2Execute the following command to start the Apache server.
$ sudo service apache2 startSince Apache runs as a service, it will automatically start when the computer boots.
Go to localhost or your server's LAN IP in your web browser and verify that you see Apache's default page:
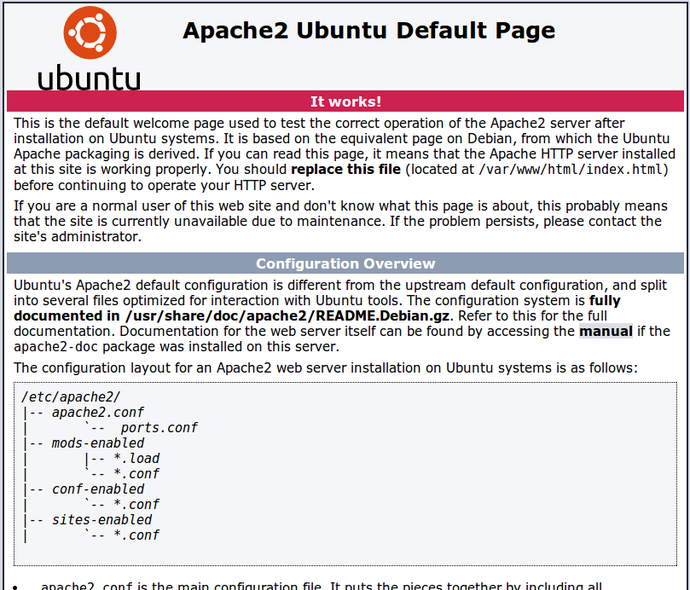
The default web directory is /var/www/, which contains one file, index.html.
Make your site visible to everyone
Modify your router's port forwarding settings to forward port 80 to your server's static IP. This will make Apache visible to the WAN. Verify this by going to your public IP in a web browser.
Jekyll
I later discovered Jekyll, a service that creates websites using configuration files and posts written in Markdown syntax. People have created many beautiful Jekyll themes, and I decided to use the Pixyll theme for its simplicity.
It is very easy to use Jekyll with GitHub Pages, a free hosting service that gives GitHub users a username.github.io domain. However, I wanted to separate my Jekyll blog from other things I wanted to host, so I went with a self-hosted setup.
Installation
$ sudo apt-get install rubygems
$ gem install jekyll
After downloading a theme, cd into its directory and run the following to generate the website for the first time. Note: this command will delete everything in your web directory (/var/www/)!
$ cd /path/to/jekyll/blog/
$ sudo jekyll build -d /var/www/
Automatic Regeneration
Append the following line to /etc/rc.local, which is a script that runs after every boot.
$ sudo vim /etc/rc.local

...
/usr/local/bin/jekyll build --watch -s [Jekyll directory] -d /var/www/christopherrung.com
This line will update the Jekyll site, generate the files, and output them to the destination specified by the -d flag. If anything is modified in the Jekyll directory, it will automatically regenerate the files (enabled through --watch).
Update — 4/6/16
I use Cyberduck, my SFTP client of choice, to update my site. I have been updating my site with Dropbox. I also found a service that I have adapted below. Create /etc/init/jekyll.conf with the following contents and start it with start jekyll. Full config: gist.github.com.
I hope you enjoyed this post! Please let me know if you have any questions.