There are many tutorials that explain how to add a hard drive to a server, but they often miss a few important last steps.
Many fail to mention how to reclaim the 5% of hard drive space reserved for the superuser by default — usually unnecessary. After walking through the basics, I'll introduce you to tune2fs, which reclaims this needlessly-lost space.
If you're installing a Western Digital Green hard drive in a server that runs 24/7, I'll also cover how to extend its life using idle3ctl, a tool that disables the head park timer and makes it behave like a WD Red drive.
Install the New Drive
Hardware
Shut down the server, disconnect from power, and open the case. Blast the inside with compressed air while you're in there. Install the drive into an available bay, attach it with screws, connect a power cord from the PSU, and use a SATA cable to connect it to the motherboard.
Software
Determine the Drive Name
$ sudo lshw -C diskThis prints information about all attached drives. The output resembles the following:
*-disk
description: ATA Disk
product: WDC WD40EZRX-00S
vendor: Western Digital
logical name: /dev/sda
size: 3726GiB (4TB)
From this output, the logical name is /dev/sda.
Partition
Open GParted, a tool for partitioning drives:
$ sudo gpartedUse the drop-down in the top left to select your drive. Right-click the bar, select "New," fill the entire disk with a primary partition, choose the ext4 filesystem, and click "Add." Click "Apply" to commit. The partition will be named /dev/sda1.
Mount
Create a mount point and mount the drive:
$ sudo mkdir /media/[drive name]
$ sudo mount /dev/sda1 /media/[drive name]
Auto Mount
Open the Disks program, select the new drive, click the settings gear, and select "Edit Mount Options."
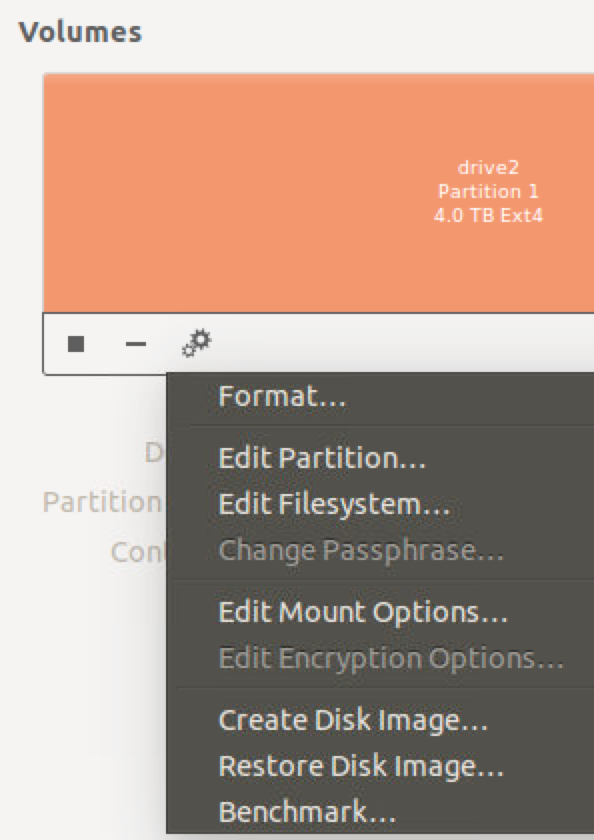
Apply options similar to the following:
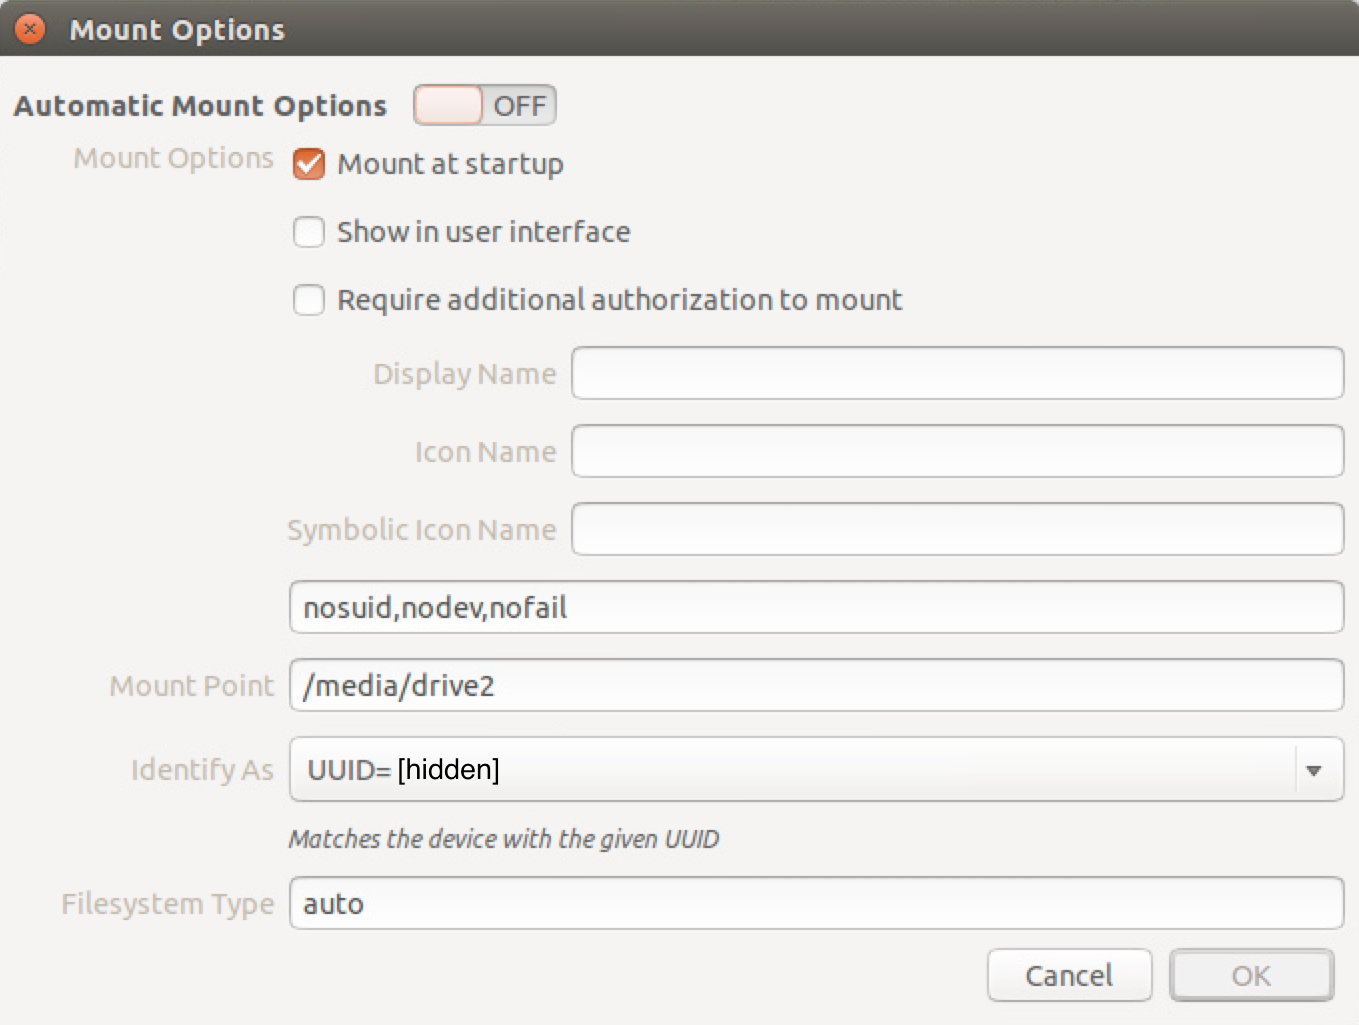
This interface modifies /etc/fstab, which is why it asks for your superuser password.
Reclaim Lost Space
By default, 5% of the drive's space is reserved for the superuser. Reclaim it with tune2fs:
$ sudo tune2fs -m 0 /dev/sdb1The -m option specifies the percentage of total space to reserve. This executes quickly and can be changed any time.
Extend the Life of WD Green Drives
WD Green drives have an auto-park feature that parks the head every 8 seconds. On a 24/7 server with frequent reads and writes, this dramatically decreases lifespan. Install idle3-tools to disable it:
$ sudo apt-get install idle3-toolsDisable the timer:
$ sudo idle3ctl -d /dev/sdbYou'll see a message instructing you to power off the machine (not just reboot) for the setting to apply:
$ sudo shutdown -PThat's it! Please let me know if you have any questions or corrections.